Want to draw a cute little tractor but don't know where to start? This easy guide will show you how, step-by-step! We'll combine the best techniques from different drawing methods, making it super easy, even if you've never drawn before. For even more tractor drawing inspiration, check out these tractor coloring pages. Get ready to have fun and create something awesome!
Simple Drawing Tractor: Let's Get Rolling!
Ready to unleash your inner artist? This step-by-step guide will walk you through creating a simple tractor drawing. We're blending the best parts of various drawing approaches to make it fun and straightforward, even for absolute beginners! Get ready for some seriously creative fun!
Step-by-Step: Your Simple Tractor Adventure
Let's build your tractor piece-by-piece! Don't worry about perfection – the goal is to have fun and learn.
Step 1: The Chassis – Your Tractor's Foundation
Begin by drawing a rectangle (a long, four-sided shape). This is the main body of your tractor, the foundation for everything else. Make it a bit longer than it is wide—just like a real tractor! You can use a ruler for straight lines or go freehand – it's your choice!
Step 2: Rolling on Wheels – Adding Those Big Tires
Now, let's add wheels! Draw two large circles underneath the rectangle. These are the big wheels that help your tractor plow fields! Pro tip: For perfectly round circles, try tracing around a circular object!
Step 3: The Driver's Cabin – A Cozy Home for Your Tractor Driver
Time to build the driver's cabin! Draw a smaller square on top of the rectangle. This is where your tractor driver sits and controls this powerful machine.
Step 4: The Chimney – Puffing Smoke
Next, let's add a tiny rectangle sticking up from the top of the cabin—the chimney! This is where the engine releases exhaust.
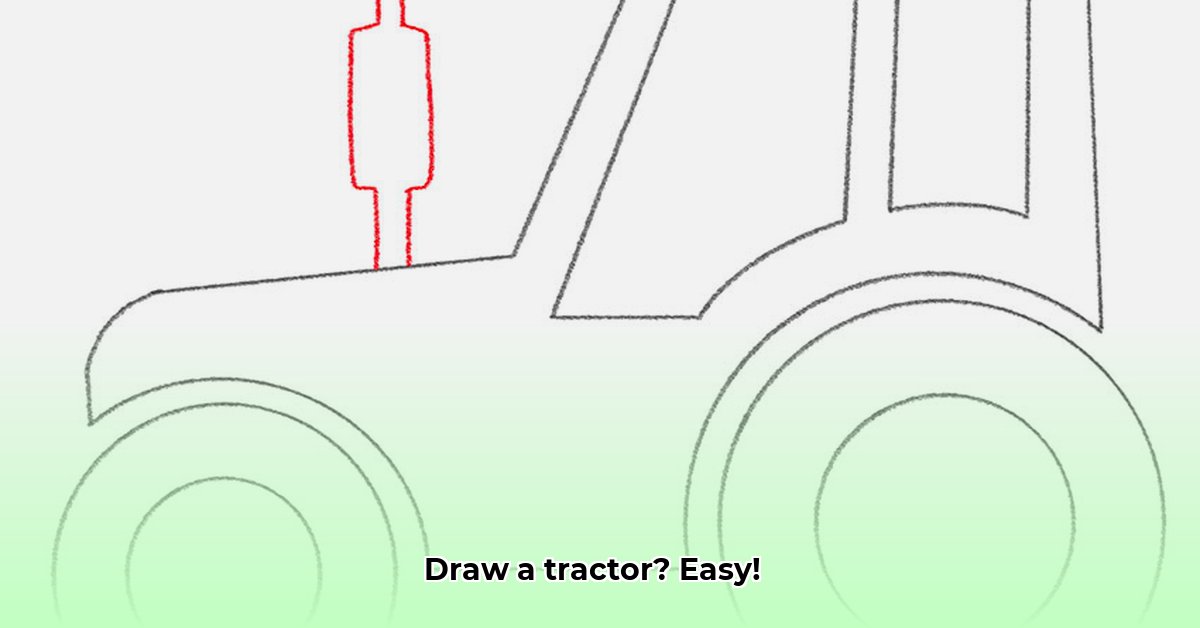
Step 5: Exhaust Pipe – Where the Smoke Goes
Draw a short, slightly angled line extending from the chimney's top – the exhaust pipe!
Step 6: Adding Details – The Finishing Touches
Let's add some details! Draw a simple grill on the front, small squares for windows, and tiny circles for headlights. You might also want to sketch a curved line under the tractor to suggest the ground.
Step 7: Color Explosion – Bring It To Life!
Time for the fun part—adding color! Use crayons, markers, or colored pencils and let your imagination run wild! Use bright colors to make your tractor stand out! You could even add a background – a sunny field or a barn!
Tips and Tricks for an Even Better Tractor
Here are some extra ideas to elevate your tractor drawing:
- Shape it Up: Experiment with shapes! Try slightly curved rectangles or oval wheels.
- Texturing Your Tractor: Add texture using shading or lines of varying thickness. Experiment with hatching (parallel lines) or cross-hatching.
- Perspective Play: Make the wheels slightly larger in the foreground to create depth.
- Set the Scene: Add a simple background like a field or farm.
- Beyond the Basics: Once you've mastered the basics, try drawing different types of tractors or adding equipment!
Comparing Approaches: Different Paths to the Same Awesome Result
This guide blends ideas from various sources, some visual, others detailed. Videos are great for seeing the process, but written guides are easier to follow for some. This guide combines both! Did you find one method easier than the other?
Remember, the most important thing is to have fun! Don't worry about mistakes; they're part of the creative process. So grab your pencils and let's get drawing! You've got this! You might be surprised at how awesome your tractor turns out!
How to Draw a Realistic Tractor: A Step-by-Step Guide
This guide, combining simple and detailed approaches, will help you draw a realistic tractor!
Step 1: The Foundation – A Simple Shape
Start with a rectangle for the main body – the chassis. Don’t worry about making it perfect; just get a general outline.
Step 2: Wheels and Cab
Add two large circles for the drive wheels and a smaller circle for the front wheel. Draw a smaller, slightly tilted rectangle on top for the cab.
Step 3: Adding Details
Add details like an engine (rectangle under the cab), exhaust pipe, air intake, and fenders (rectangles above the wheels).
Step 4: Refining the Lines
Gently erase stray lines and clean up your sketch.
Step 5: Adding Realism (Optional)
Add small details and shading to give your tractor a three-dimensional look.
Comparing Approaches
This guide blends simpler methods with more geometrically precise ones. A detailed, geometric method might be slightly more time-consuming but offers more accuracy. This method is quicker and intuitive, perfect for practice. Both approaches ultimately help you create a great tractor drawing!